
Hi everyone,

Let's start Touch and Go Dry Marbling tutorial.
Steps :
1-You need at least three complimenting colors and a sheer nude polish.
2- Start with a clear base coat. Let it dry
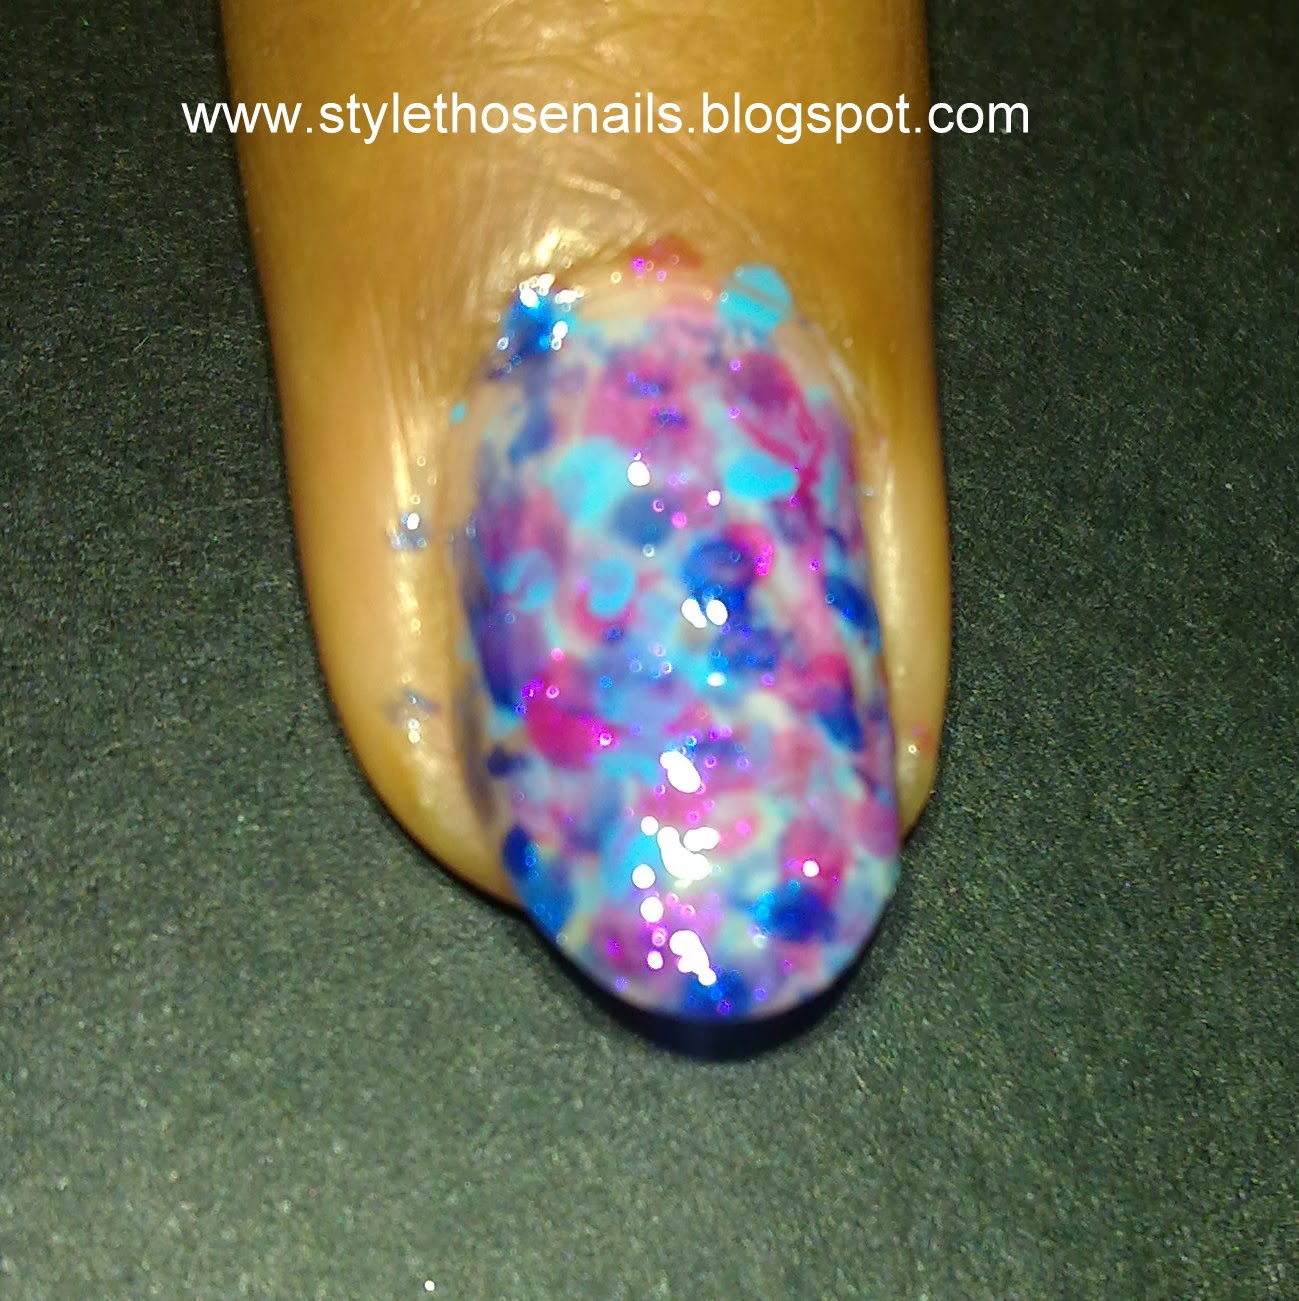
3- Now add random spots of all the polish colors (you just have to touch the brush on nails with minimal polish) except nude color. Use barely any polish on brush just touch it in polish bottle or remove excess by sweeping the brush on the side of bottle.
4-Now apply very thin layer of nude polish this helps in blending colors and also give a soft look .
5-Repeat all the steps of 3 &4 and apply topcoat in the end.


I hope you like this tutorial. If you try share with me on my facebook page and Instagram also tag me :)
Use hashtag #touchandgodrymarbling when you share your pictures :-)
Check out how I created Heart Charms on this background. Click Here